Showing posts with label Terrain. Show all posts

Saturday, 8 November 2014

150 followers! And more terrain!

Wow, thanks so much guys, late last week the blog ticked over 150 followers. Thank you all so much for liking my work enough to follow me, here's to 150+ more :p

As for what I've been doing. . . well, something will remain a secret, for now.

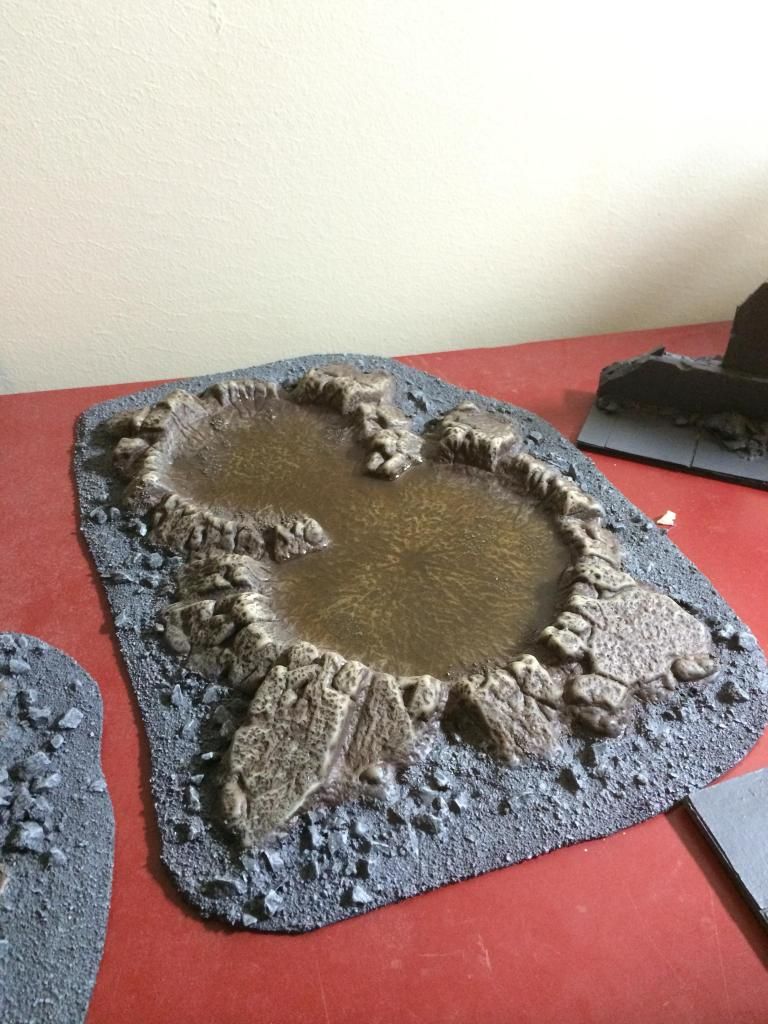
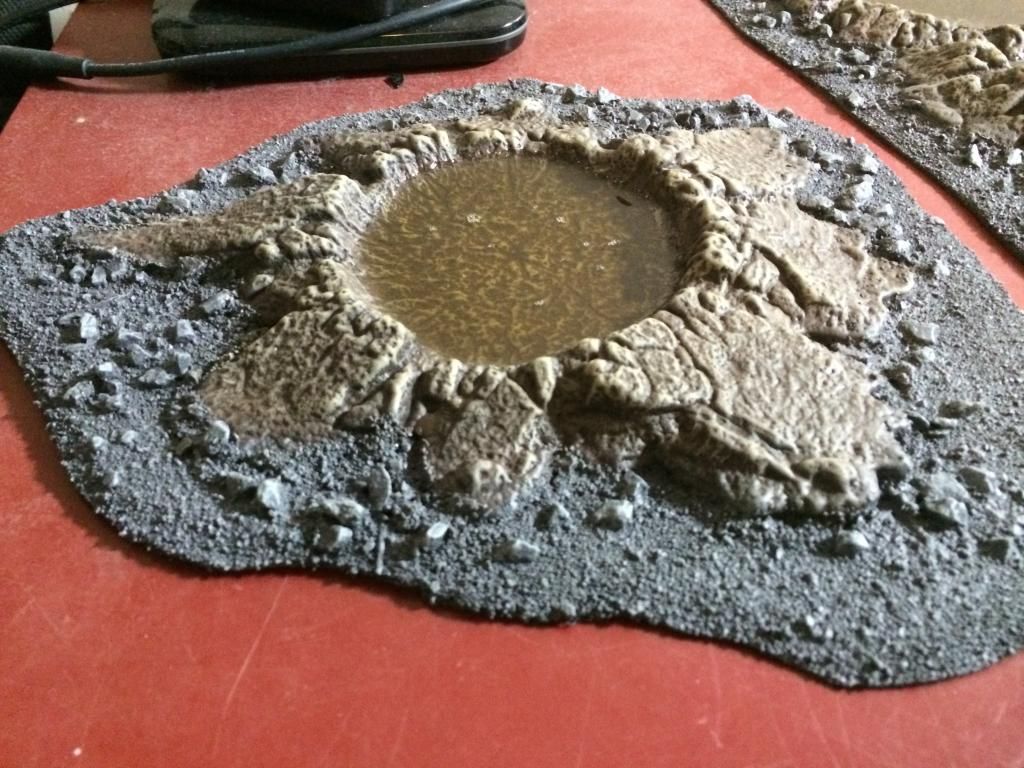
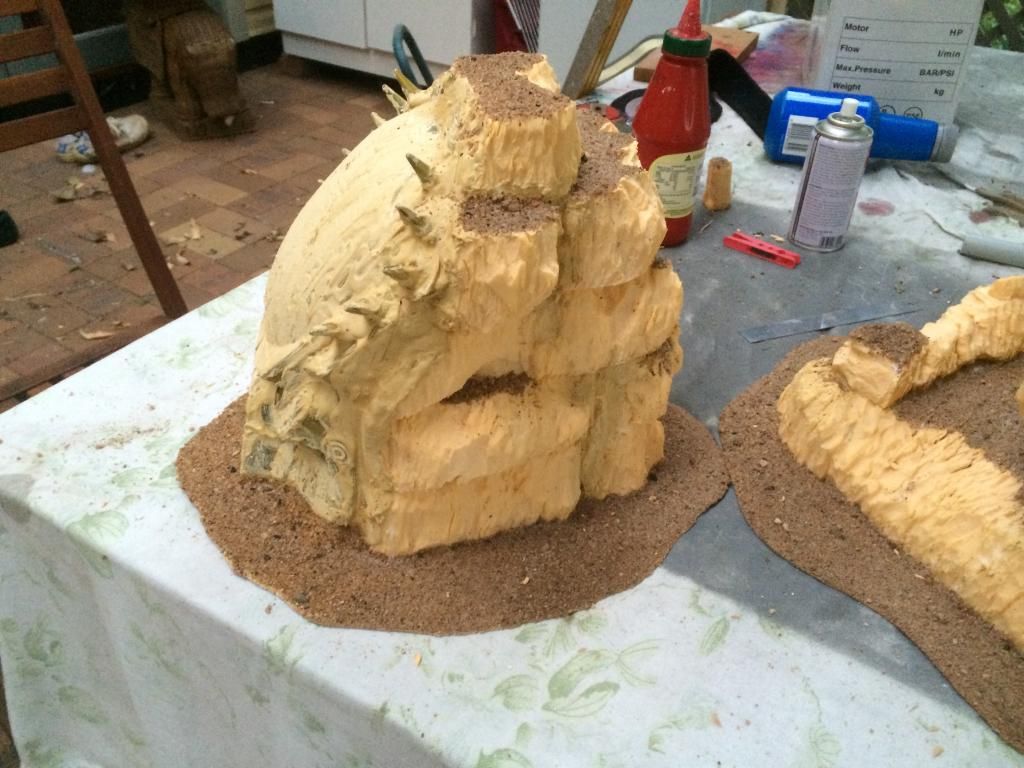
But I can show you more of the terrain WIP that I've been doing for the tournament this weekend (damn that snuck up).

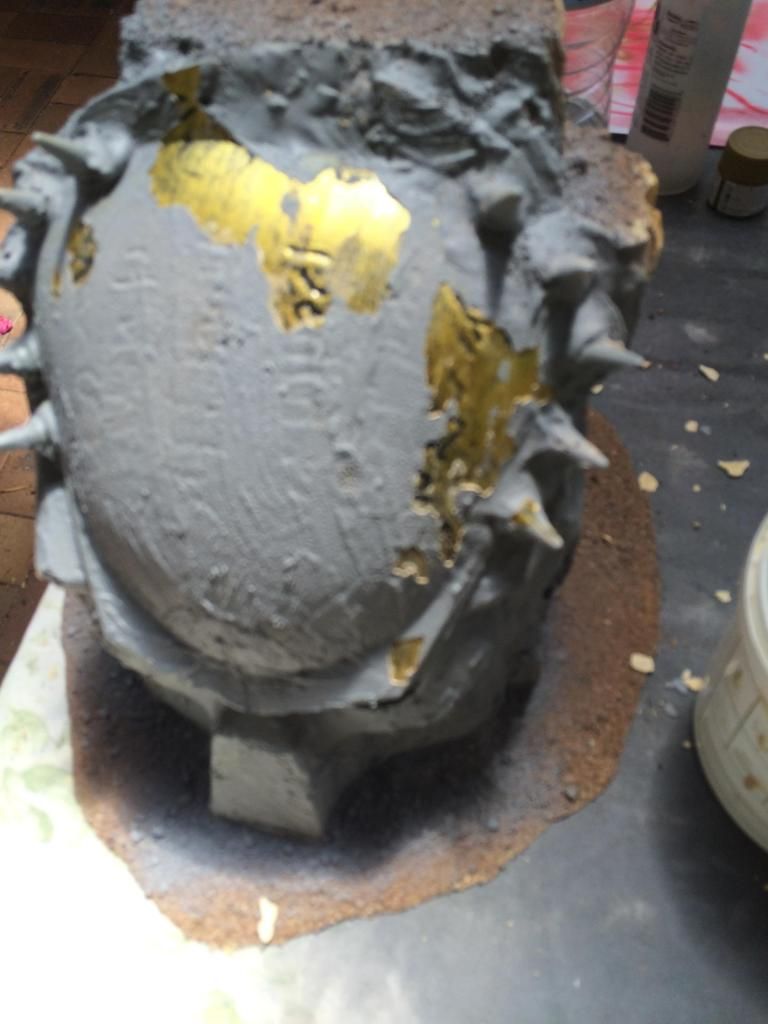
After the disaster with the chipping coating on the masks, I reapplied the finish by using a textured paint, this seemed to hold on well, and filled the gaps so that I could apply a grey undercoat, followed by Tamiya Dark Yellow spray.


This was followed by some green washes of various shades to add an aged look.


I then added a brown wash to some parts. However this ended up giving a German WW2 camo effect (no pics), a dry brush of bone, and a thin over spray of Tamiya Dark yellow sorted it out, and toned the effect down to acceptable levels.


To add some more interest to the terrain, and impart a story element to it, I clipped the fire brands from the GW flagellent kit and painted it with the airbrush to simulate fire. A rudimentary OSL effect was done in the eye sockets at the same time.


They were then stuck in the eyes of the masks, and soot was then sprayed (probably too heavily) to the eyebrows and lower lids/rims of the mask.


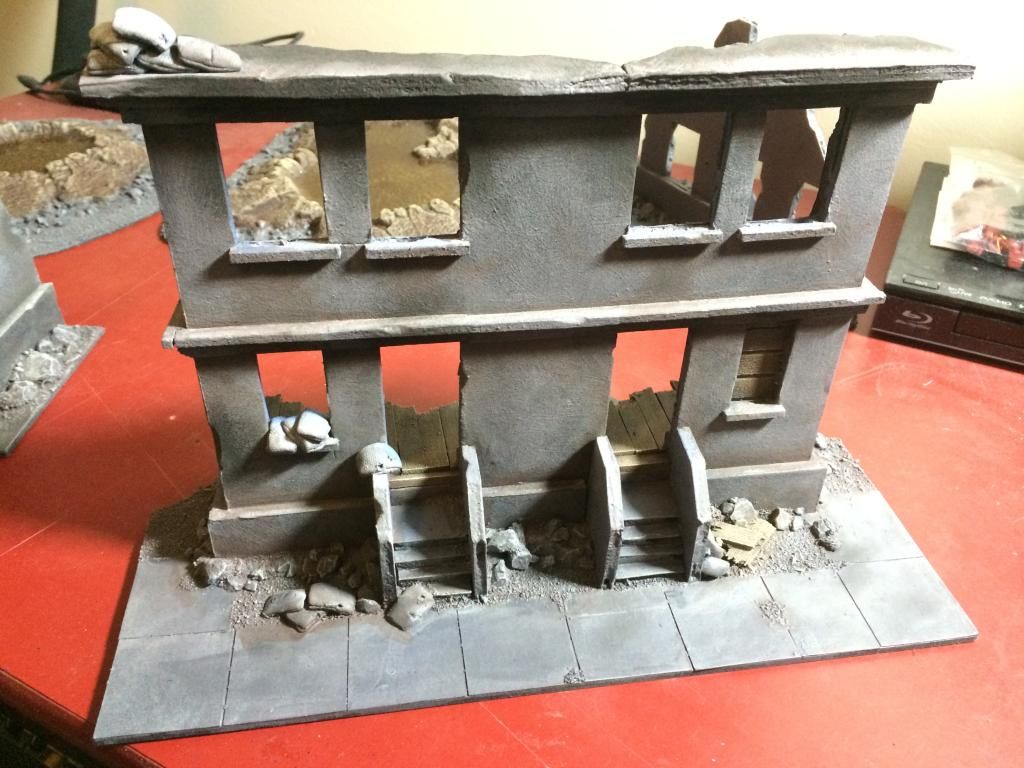
A while ago (18 months??) I bought a bunch of second hand terrain. In it was a whole bunch of tyranid capillary towers (24) and a bunch of CoD buildings.


These will form the basis of the next update. 

Thanks for stopping in.

Thursday, 23 October 2014

Terrain post #2

A second quick post about the terrain project I've been working on with my mate in preparation for a tournament.

WIP building
Once we'd built the buildings we needed to paint them. Texture paint wash brushed on to provide a concrete look, and protect the foam, then they were primed using cheap spray paint from Bunnings.


Once that was dry an over spray of white to add some quick shading, and a thick wash of grey to bring the white back down in tone.
Then they were weathered and drybrushed with light grey to pick out the details.


The craters are just GW plastics glued to some MDF, Painted Dryad bark, drybrushed Steel legion drab, then Ushabati bone. The water effect is a polyurethane resin tinted with some serephim sepia wash.

More updates with the terrain as it happens.


Monday, 20 October 2014

Once more into the breach: Terrain

Hello everyone, long time no content, but thats par for the course with me unfortunately.

But good news everyone, I'm finished uni for the year, and back into the modelling frame of mind. Since the last post my friend and I have decided to reinvigorate the local gaming scene, to do this we will run a tournament. To run a tournament we need terrain. Hence the content of this post.

Finished water filled crater
To begin we collected materials, and ideas we'd had from previous terrain making, and new materials including:
- Foam core/board
- GW craters
- GW trees
- pre-loved vehicles
- Basing materials (MDF, glue, sand, rocks etc)
- Clear resin for water

What follows will be a bunch of images of what we made from those materials


Also the Warmaster got a primer coat . . .

See Matt, he did get to see some paint

I've also made a start on the Predator themed table for the upcoming Aliens Vs Predator miniatures game by Prodos games.

To make these hill's I used cheap halloween Predator masks and high density polystyrene.


A wood putty was then spread across them to remove the smooth look of the masks and hide the sculpted details.

But this proved troublesome, and some cracking and flaking was evident on the areas not reinforced by the polystyrene. I can only attribute this to swelling/shrinking of the mask plastic material during heating and cooling in the sun on the back verandah.

Ah bugger

Next post will be about the rescuing and painting of more terrain. 

Thanks for looking.


Sunday, 24 November 2013

Aliens Vs Predator: The minatures game


Ok guys, so today is a bit of a departure from the norm as this is a primarily 40k-centric blog, but recently I was made aware of the Kickstarter for the official licensed AvP miniatures game by Prodos games.

I don't know about you guys, but my love of this franchise predates even my introduction to 40k, and is probably one of the  reasons for my continued return to Tyranid armies.

After convincing a bunch of mates (6 at last count I think) to commit to backing the kickstarter I have been bitten by the inspiration bug. Since I can't buy, convert or paint any of the minis for this game yet, that leaves me with terrain.

I quickly scoured ebay for AvP related things, and ended up buying some cheap predator halloween masks. Which lead to this sketch:

Very rough concept
After that I though about iconic terrain from the franchise, clearly there would be jungle, so I would set my terrain in an alien jungle environment, but there needed to be more. Pyramids:

Please ignore the complete lack of scale and perspective
A simple stepped pyramid would look great, block LOS and be useful and playable, but I needed it to reflect the universe, so I began sculpting panels to use as relief on the sides of the pyramid. The panels ended up being 45mm square.

I started with a styilised predator (or Yautja as they are apparently called in the fluff) mask, the writing is from a predator language translator I found in the comments on kickstarter and is apparently the one the Prodos guys have used.

1st go at sculpting over a drawing

Coming together

Change the left dreads and added lenses

Finished panel: or is it after this I changed the shape of the forehead and added pred text to the helmet that says "Blooded"
The border says "The hunt begins". Which I thought was apt for the predators and is the name of the game after all :)

I couldn't just have a border of all pred masks, it would look a bit repetitive, and according to the movies and the xenopedia article on yautja they like to decorate their cities with alien statues and fresco's.

This is the result, a queen chestburster, in the classic Aliens 3 poster pose.

This is actually the second round of sculpting, I forgot to take pics of the first.

Finished panel
The text on the border of this panel says "Death serpents".

And this is where I'm up to currently, once I have cast the panels a million time to get enough for a pyramid, I can begin construction and will have another update later.